

Introduction
This comprehensive guide teaches beginners how to build fully operational AI agents using n8n, a low-code to no-code automation platform. This emphasizes that regardless of your industry or background, learning to build AI agents can bring significant benefits to your workflow and productivity. It walks the reader through the fundamentals of n8n, building a basic automation, and then transforming it into an AI-powered agent.
Installing and Configuring n8n on a Local Server
This guide provides step-by-step instructions for installing and configuring n8n locally without using Docker. n8n is a powerful workflow automation platform that allows you to connect various applications and create automated workflows with minimal coding.
System Requirements
- Operating System: Linux, macOS, or Windows
- Node.js: Version 18 or higher
- NPM: Latest version (comes with Node.js)
- RAM: Minimum 2GB (recommended)
- CPU: At least 1 vCPU (2+ recommended for production)
- Storage: Minimum 1GB for installation
Step 1: Install Node.js and NPM
n8n requires Node.js version 18 or above to run properly.
For Linux (Ubuntu/Debian):
# Update package lists
sudo apt update

# Install Node.js and npm
sudo apt install -y nodejs npm

# Verify installation
node -v
npm -v
For macOS:
# Using Homebrew
brew install node

# Verify installation
node -v
npm -v
For Windows:
- Download the Node.js installer from nodejs.org
- Run the installer and follow the installation wizard
- Open Command Prompt and verify the installation:
node -v
npm -v
Step 2: Install n8n
You can install n8n either globally or use it directly with npx.
Global Installation (Recommended for regular use):
# Install n8n globally
npm install n8n -g

# Verify installation
n8n --version
Using npx (Good for trying it out):
npx n8n
Step 3: Start n8n
After installing n8n, you can start it by running:
# Start n8n
n8n start
This will launch n8n, and you can access it by opening http://localhost:5678 in your web browser.
Step 4: Configuration
n8n can be configured using environment variables or configuration files. Here are the most common configuration methods:
Using Environment Variables
You can set environment variables before starting n8n:
# Set environment variables (Linux/macOS)
export N8N_PORT=5678
export N8N_PROTOCOL=http
export N8N_HOST=localhost
export N8N_BASIC_AUTH_ACTIVE=true
export N8N_BASIC_AUTH_USER=admin
export N8N_BASIC_AUTH_PASSWORD=password

# Start n8n with the environment variables
n8n start
For Windows:
set N8N_PORT=5678
set N8N_PROTOCOL=http
set N8N_HOST=localhost
set N8N_BASIC_AUTH_ACTIVE=true
set N8N_BASIC_AUTH_USER=admin
set N8N_BASIC_AUTH_PASSWORD=password

n8n start
Using Configuration Files
You can also create JSON configuration files:
- Create a JSON file named
config.json:
{
  "port": 5678,
  "protocol": "http",
  "host": "localhost",
  "security": {
    "basicAuth": {
      "active": true,
      "user": "admin",
      "password": "password"
    }
  }
}
- Start n8n with the configuration file:
export N8N_CONFIG_FILES=/path/to/config.json
n8n start
Step 5: Setting Up for Production
For production environments, additional settings are recommended:
Enable HTTPS:
# Generate self-signed certificate
openssl req -nodes -new -x509 -keyout key.pem -out cert.pem

# Set environment variables
export N8N_PROTOCOL=https
export N8N_SSL_KEY=/path/to/key.pem
export N8N_SSL_CERT=/path/to/cert.pem

# Start n8n
n8n start
Use a Process Manager (PM2):
# Install PM2
npm install pm2 -g

# Start n8n with PM2
pm2 start n8n

# Enable startup on boot
pm2 startup
pm2 save
Set Up a Database (Optional but recommended for production):
By default, n8n uses SQLite, but you can configure it to use PostgreSQL:
- Install PostgreSQL and create a database for n8n
- Configure n8n to use PostgreSQL:
export DB_TYPE=postgresdb
export DB_POSTGRESDB_HOST=localhost
export DB_POSTGRESDB_PORT=5432
export DB_POSTGRESDB_DATABASE=n8n
export DB_POSTGRESDB_USER=your_user
export DB_POSTGRESDB_PASSWORD=your_password

n8n start
Step 6: Setting Up Webhook Access
If you need to use webhooks in your workflows, you’ll need to make n8n accessible from the internet or use the tunnel feature for development:
Using Tunnel for Development:
# Start n8n with tunnel
n8n start --tunnel
Setting Up for Production:
For production, you need to:
- Set up a domain name pointing to your server
- Configure a reverse proxy (Nginx/Apache)
- Set appropriate environment variables:
export N8N_HOST=your-domain.com
export N8N_PROTOCOL=https
export N8N_PORT=5678
Step 7: Data Persistence and Backups
n8n stores data in the ~/.n8n directory by default. It’s important to back up this directory regularly:
# Create a backup
tar -czf n8n-backup-$(date +%F).tar.gz ~/.n8n

# Restore from backup
tar -xzf n8n-backup-2025-05-14.tar.gz -C ~/
Troubleshooting
Common Issues:
- Port already in use: Change the port using
N8N_PORTenvironment variable - Authentication issues: Check your
N8N_BASIC_AUTH_USERandN8N_BASIC_AUTH_PASSWORDsettings - Permission problems: Ensure the user running n8n has write permissions to
~/.n8n - Database connection errors: Verify database credentials and connectivity
Logs:
Check logs to troubleshoot issues:
# Set log level to debug
export N8N_LOG_LEVEL=debug
n8n start

# For PM2
pm2 logs n8n
Updating n8n
To update n8n to the latest version:
# Update global installation
npm update -g n8n

# Check the new version
n8n --version
Video of Build AI Agents in n8n
Key Sections From The Video
What is n8n?
n8n is described as a tool that allows users to connect applications and automate repetitive tasks with minimal coding required. The platform features built-in AI capabilities designed to enhance workflows and offers both paid and free open-source versions that can be installed locally.
Benefits of Using n8n
The presenter highlights several key benefits:
- Agent Building – Create automated agents that perform tasks while you sleep
- Efficiency – Develop hyperefficient workflows that outperform human capabilities
- Ease of Use – The platform is accessible to users of all technical backgrounds
Learning Path for n8n
The recommended learning approach consists of four steps:
- Learn the terminology and concepts specific to n8n
- Build small, simple workflows (automations)
- Integrate AI into workflows to make them “agentic”
- Continue learning and expanding your skills
Understanding the n8n Interface
The video provides a detailed explanation of the n8n interface, including:
- Projects and workflows organization
- Node types (trigger nodes, action nodes, utility nodes, code nodes, and agent nodes)
- How to connect and configure different nodes
Building a Weather Report Automation
The presenter walks through building a complete weather automation that:
- Uses HTTP requests to fetch weather data from an API
- Transforms raw JSON data into a readable message using a code node
- Sends an email with weather information on a schedule
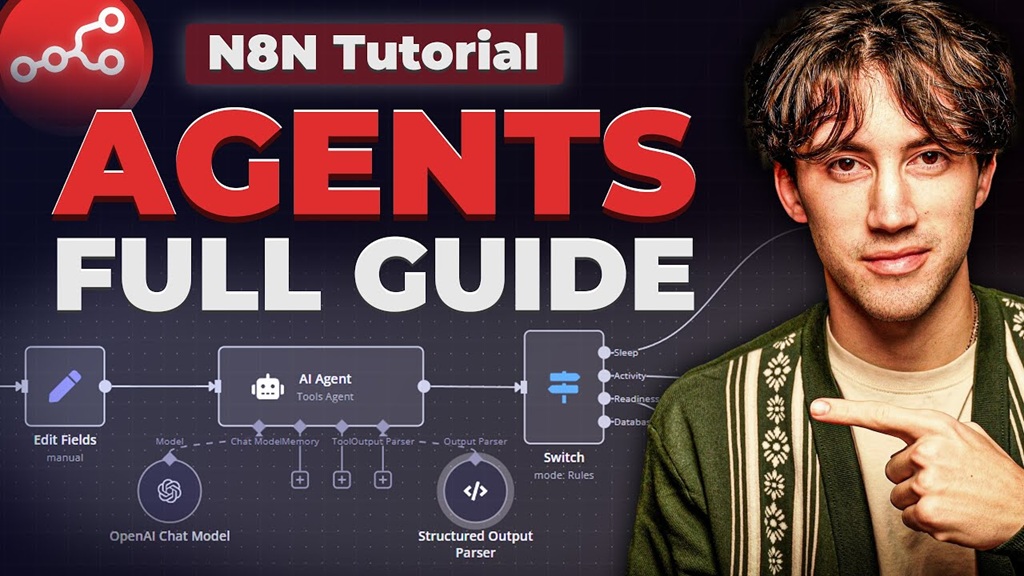
Transforming Automation into an Agent
The most significant part of the tutorial shows how to transform the standard automation into an AI agent by:
- Setting up a chat interface for natural language interaction
- Connecting an AI model (OpenAI/GPT-4)
- Adding memory to maintain context in conversations
- Integrating tools the AI can access and use (weather API and email sending)
- Creating a system where users can have a natural conversation about the weather and request custom reports
Conclusion
You now have a fully functional n8n instance running on your local server without Docker. You can start creating workflows and automations by accessing the n8n interface at http://localhost:5678 (or the port you configured).
Remember to keep your n8n installation updated and regularly back up your data for production environments.
Conclusion
5 Key Takeaways
- From Automation to Agency: The fundamental difference between automations (fixed, predefined workflows) and agents (adaptable, AI-powered systems that can respond to unique situations) demonstrates the evolution of workflow optimization.
- Low-Code Accessibility: n8n makes agent building accessible to non-developers through its visual interface, while still allowing for custom code when needed.
- Tool Integration is Power: The real power of AI agents comes from connecting them to various tools and services, allowing them to access and manipulate data across platforms.
- Prompt Engineering Foundation: Understanding prompt engineering is crucial before building agents, as it’s what powers the AI’s decision-making capabilities.
- Iterative Learning Process: Building effective agents requires starting small with basic automations, gradually adding AI capabilities, and continuously learning through experimentation.
